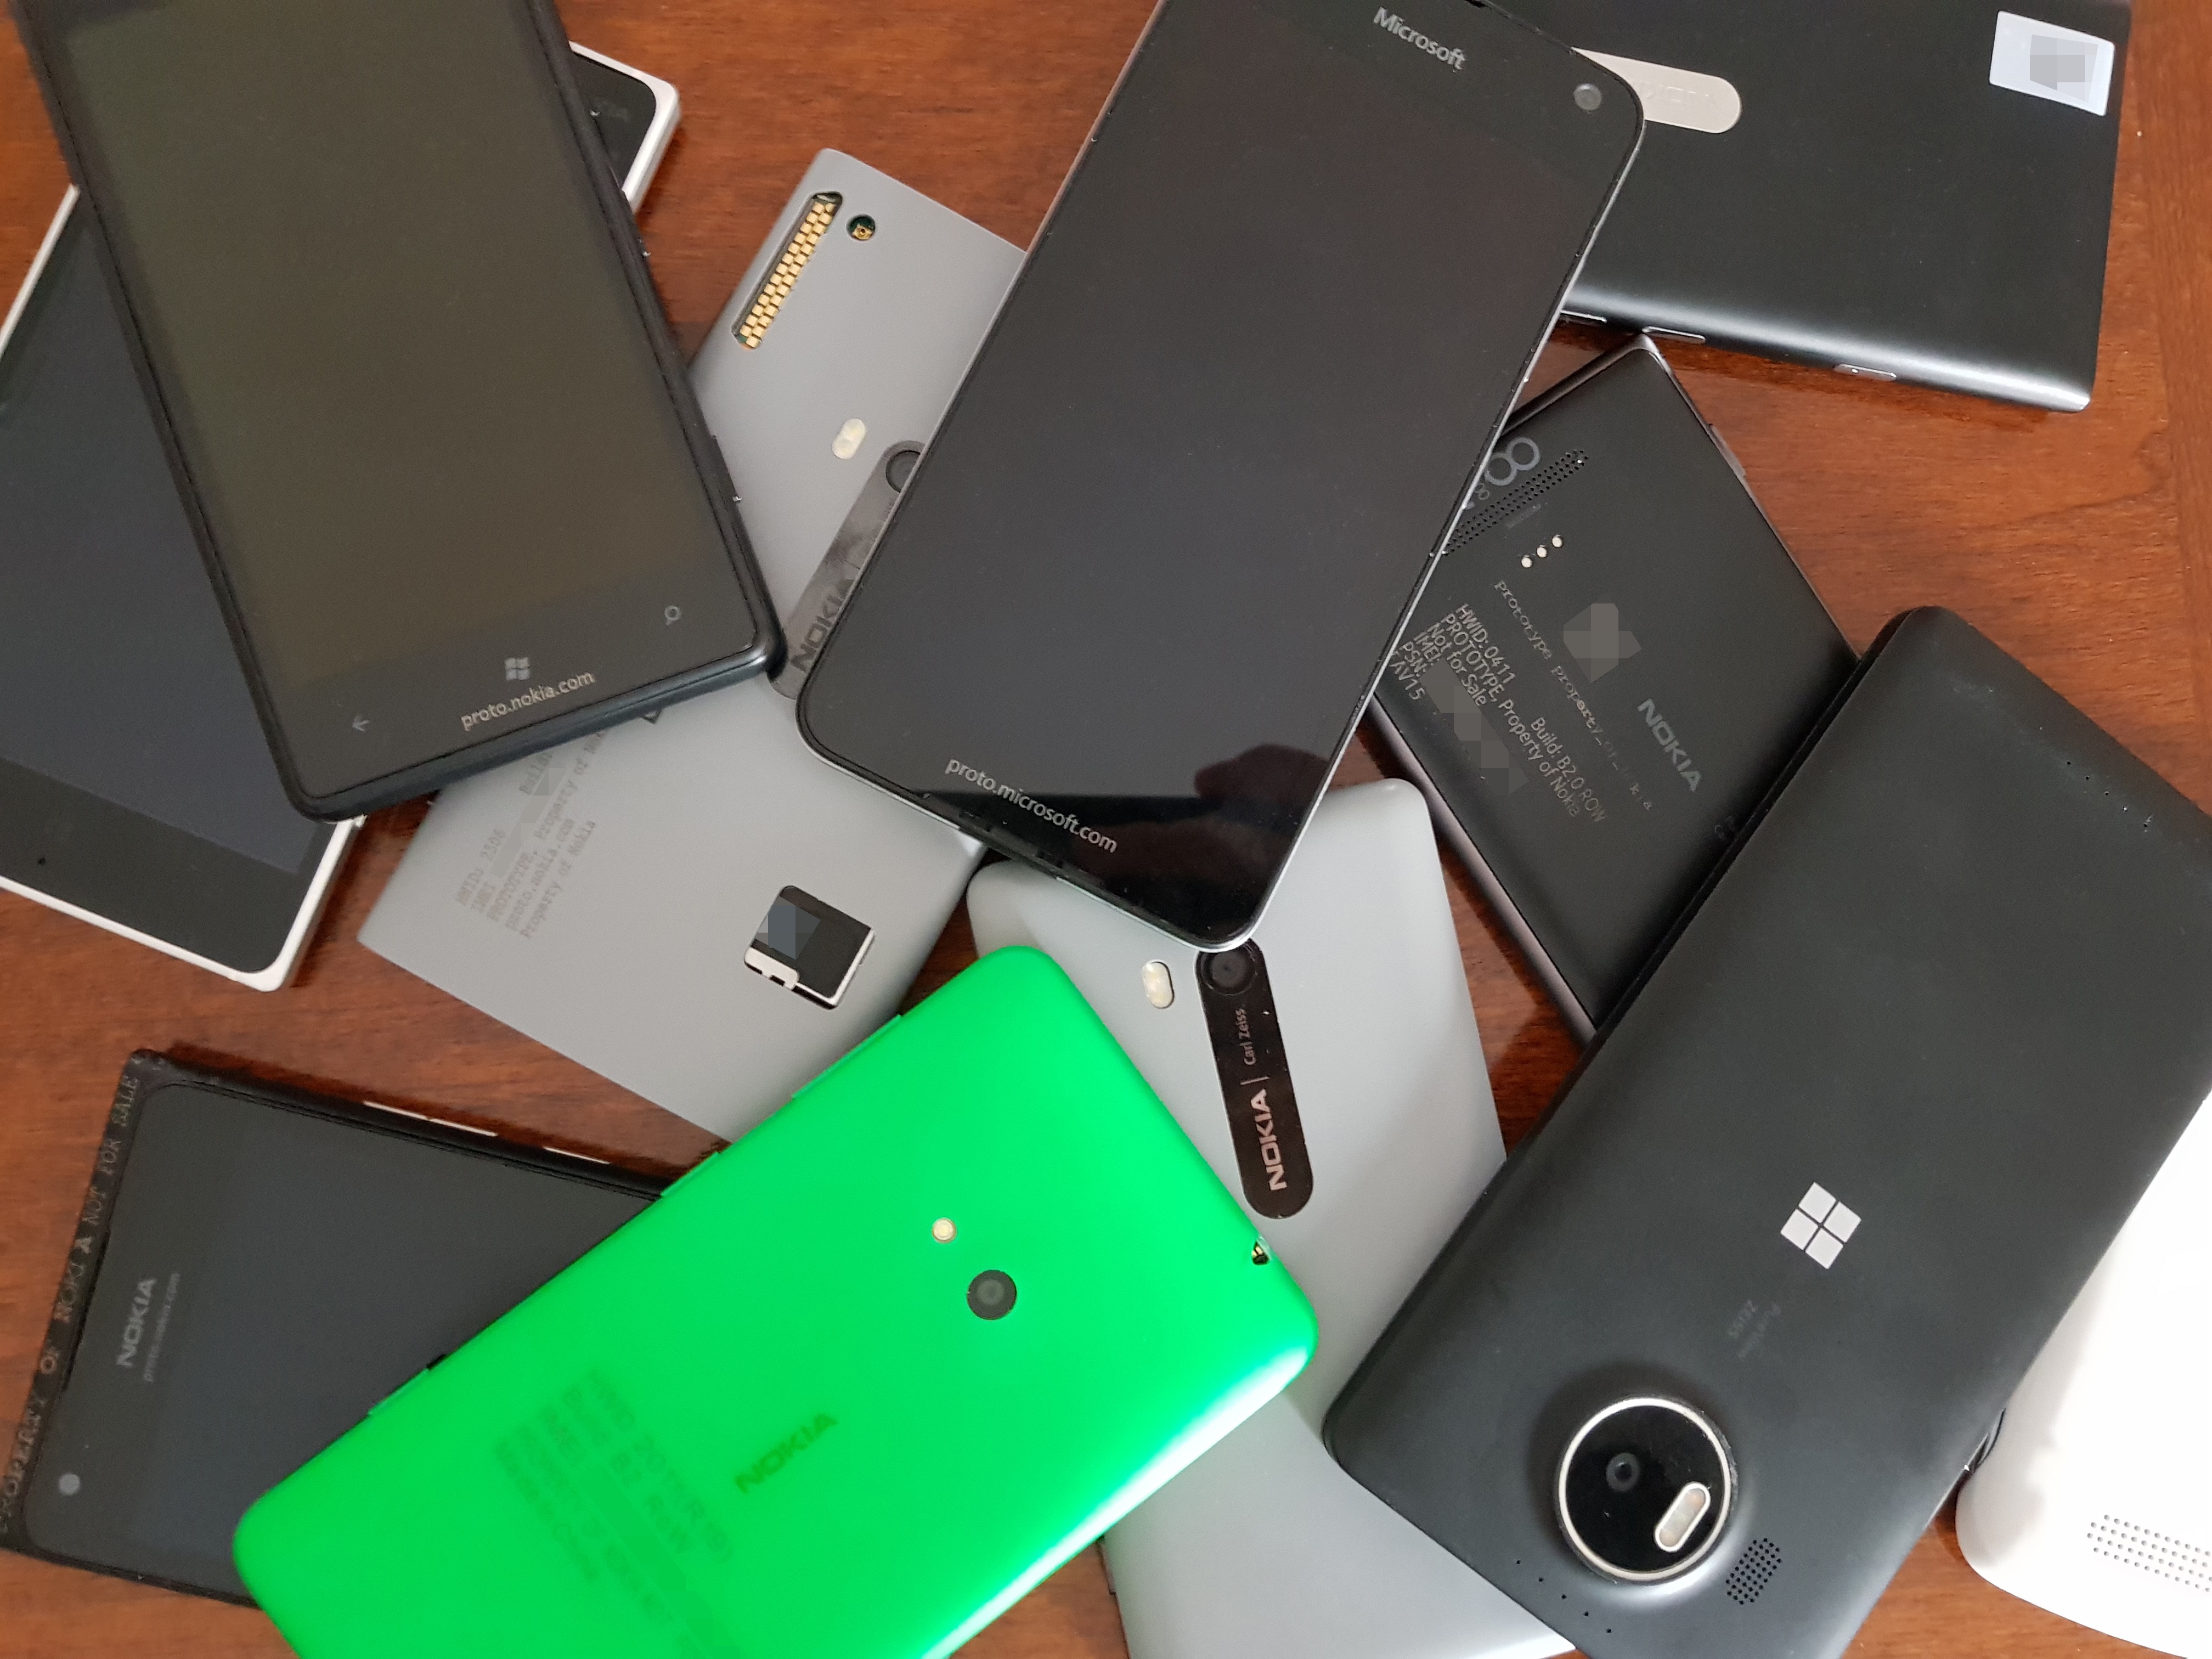
With Windows Phone being the past, a lot of prototypes are starting to appear online. If you are a Windows Phone fan or you just like to mess around with prototype hardware, it might be tempting to get one. But what should you do with it? With this post, we’ll try to highlight some of the best practices we follow when we receive a new prototype in order to be ready for everything that might happen. Keep in mind that this guide only applies to Windows Phone 8, 8.1 and 10 prototypes. Let’s get started.
Disclaimer: We are not encouraging you to buy prototypes. Some prototypes may get you in trouble. Be responsible.
Creating a backup
The first thing that you absolutely need to do once you receive a prototype, is create a backup of its eMMC. As you surely know, the eMMC contains all the user information but most importantly, it contains all the critical partitions and unique IDs. What does that mean? Well if you accidentally brick the device, you really need a known good “snapshot” of its hard drive to restore. This is also useful for phones unlocked with WPInternals but keep in mind that there might be different steps.
To back up a prototype, you first need to enter Mass Storage Mode. This mode allows you to have full access to the phone partitions via file explorer but with great power comes great responsibility. If you accidentally delete a vital file, the phone might stop working.
Accessing Mass Storage Mode
- Charge the proto to 100%
- Turn off the phone
- Launch a cmd window and navigate to the thor2 tool folder
- Connect the phone to your PC and as soon as you hear the new hardware detected sound, run
thor2 -mode rnd -bootmsc
If you’ve done everything correctly, Windows should detect a new drive. Don’t worry if you see nothing on the phone screen, it’s normal.
NOTE: Some prototypes may not be able to access mass storage in this way.
NOTE 2: Yes, we know there are other ways to access mass storage. This is one of the easier methods we recommend. If your proto doesn’t want to go into Mass Storage with this method, try holding the camera button immediately after turning it on until you see a black screen then connect it to your PC.
Creating a backup
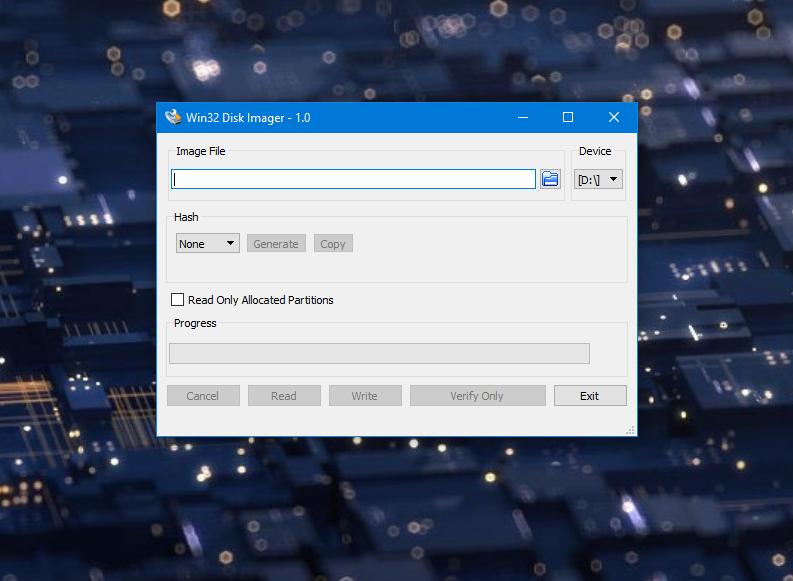
Now that the phone is in Mass Storage, install and launch Win32 Disk Imager. Select the location where you want the finished backup to be saved and give it a .img extension. After that, select the device drive name and click on read. This operation will take a while depending on the phone storage size, USB connection, etc.
NOTE: If the phone disconnects for any reason (e.g dead battery), you will need to create a new backup from scratch as the old one is corrupted. DO NOT FLASH A CORRUPTED BACKUP.
Restoring a backup
If for any reason your prototype is not booting into Windows Phone anymore, you may need to restore a known good backup. Let’s see how:
- If possible, charge the phone up to 100%
- Launch a cmd window and navigate to the thor2 tool folder
- Turn off the phone
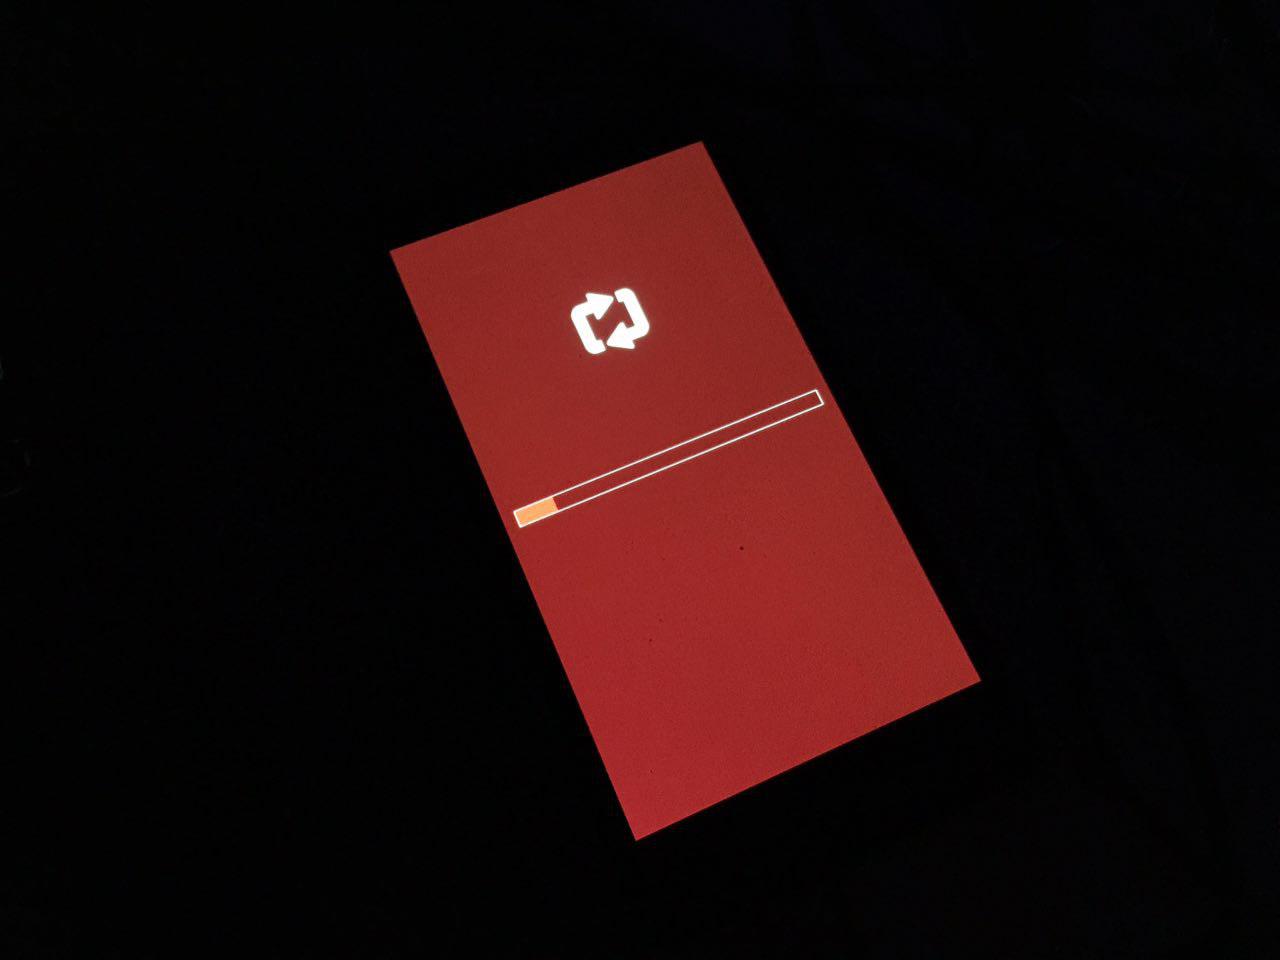
- Connect the phone to your PC and as soon as you hear the new hardware detected sound, run thor2 -mode rnd -bootflashapp (If your phone shows the image you see above, you’ve done everything correctly)
- With the phone connected, launch thor2 -mode uefiflash -imagefile [PATH TO THE .img FILE] -startsector 0
- Do not turn off the PC, this operation will take some time. May even take hours. Be patient.
NOTE: The uefiflash command is disruptive. Before hitting enter, check that you are using the correct backup for the phone you’re trying to restore. FLASHING A DIFFERENT BACKUP WILL IRREPARABLY DAMAGE THE PHONE.
NOTE 2: Some prototypes may not be able to flash .img files without a valid RnD certificate. You should create a backup of the certificate and keep it in a safe place.
Restoring to factory settings
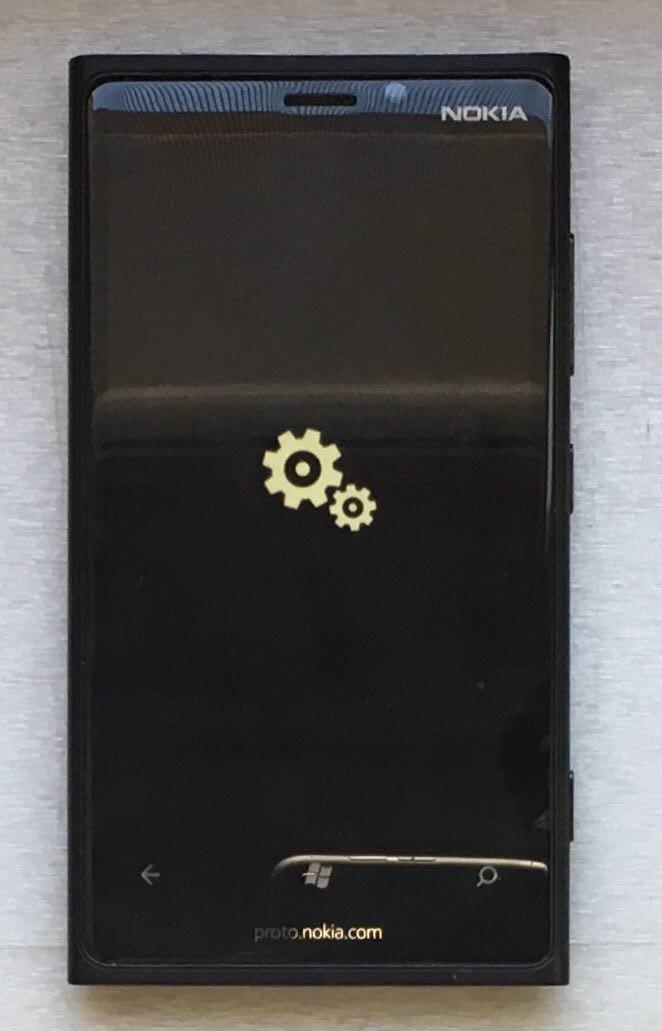
Now that we have a known good backup, we can try restoring the phone to factory settings. To do so you have to follow a few simple steps otherwise the phone will show a sad face and you will have to restore its backup. Let’s see how to restore properly:
- Enter Mass Storage Mode
- Go to MainOS and check a random .dll file properties, take note of the creation date
- Exit Mass Storage Mode by holding Vol Down + Power
- Go to settings and set the phone date to 1 day after the date you previously got from the .dll file
- Reset the phone from settings
RnD Certificate best practices
In this post, we explained what an RnD Certificate (RDC) is and why it is important to have a copy. Let’s see the most useful commands to work with it.
Checking if the phone has an RDC
- Launch a cmd window and navigate to the thor2 tool folder
- Turn off the phone
- Connect the phone to your PC and as soon as you hear the new hardware detected sound, run thor2 -mode rnd -bootflashapp
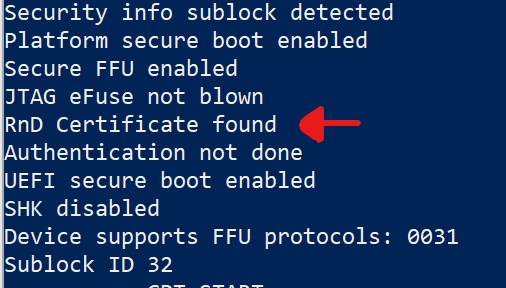
- Launch thor2 -mode rnd -uefisecurebootinfo
- Scroll to the top and check for the “RnD Certificate” information
Creating a copy of the RDC
The RDC is a precious file in many protos, without it you wouldn’t be able to do any unsecure operation. Let’s create a backup:
- Follow the previous steps up to 3
- Launch thor2 -mode retail -readrdc “rdc.bin”
- This will save the RDC in the current path
Writing RDC to a device
- Follow the previous steps to check if you have RDC up to 3
- Launch thor2 -mode retail -writerdc [PATH TO .bin FILE]
- Done
NOTE: An RnD certificate is tied to a specific phone. You cannot port the certificate from one device to another.
This is all for now. Let us know if you have any questions. Do you have a prototype and did you know how to take care of it? Let us know in the comments below! If you enjoyed this post, consider the idea of supporting us with a donation to help us bring you more exclusives.
Leave a Reply